
How to Create MDOW Hillshade - A Complete Guide

STEP 1
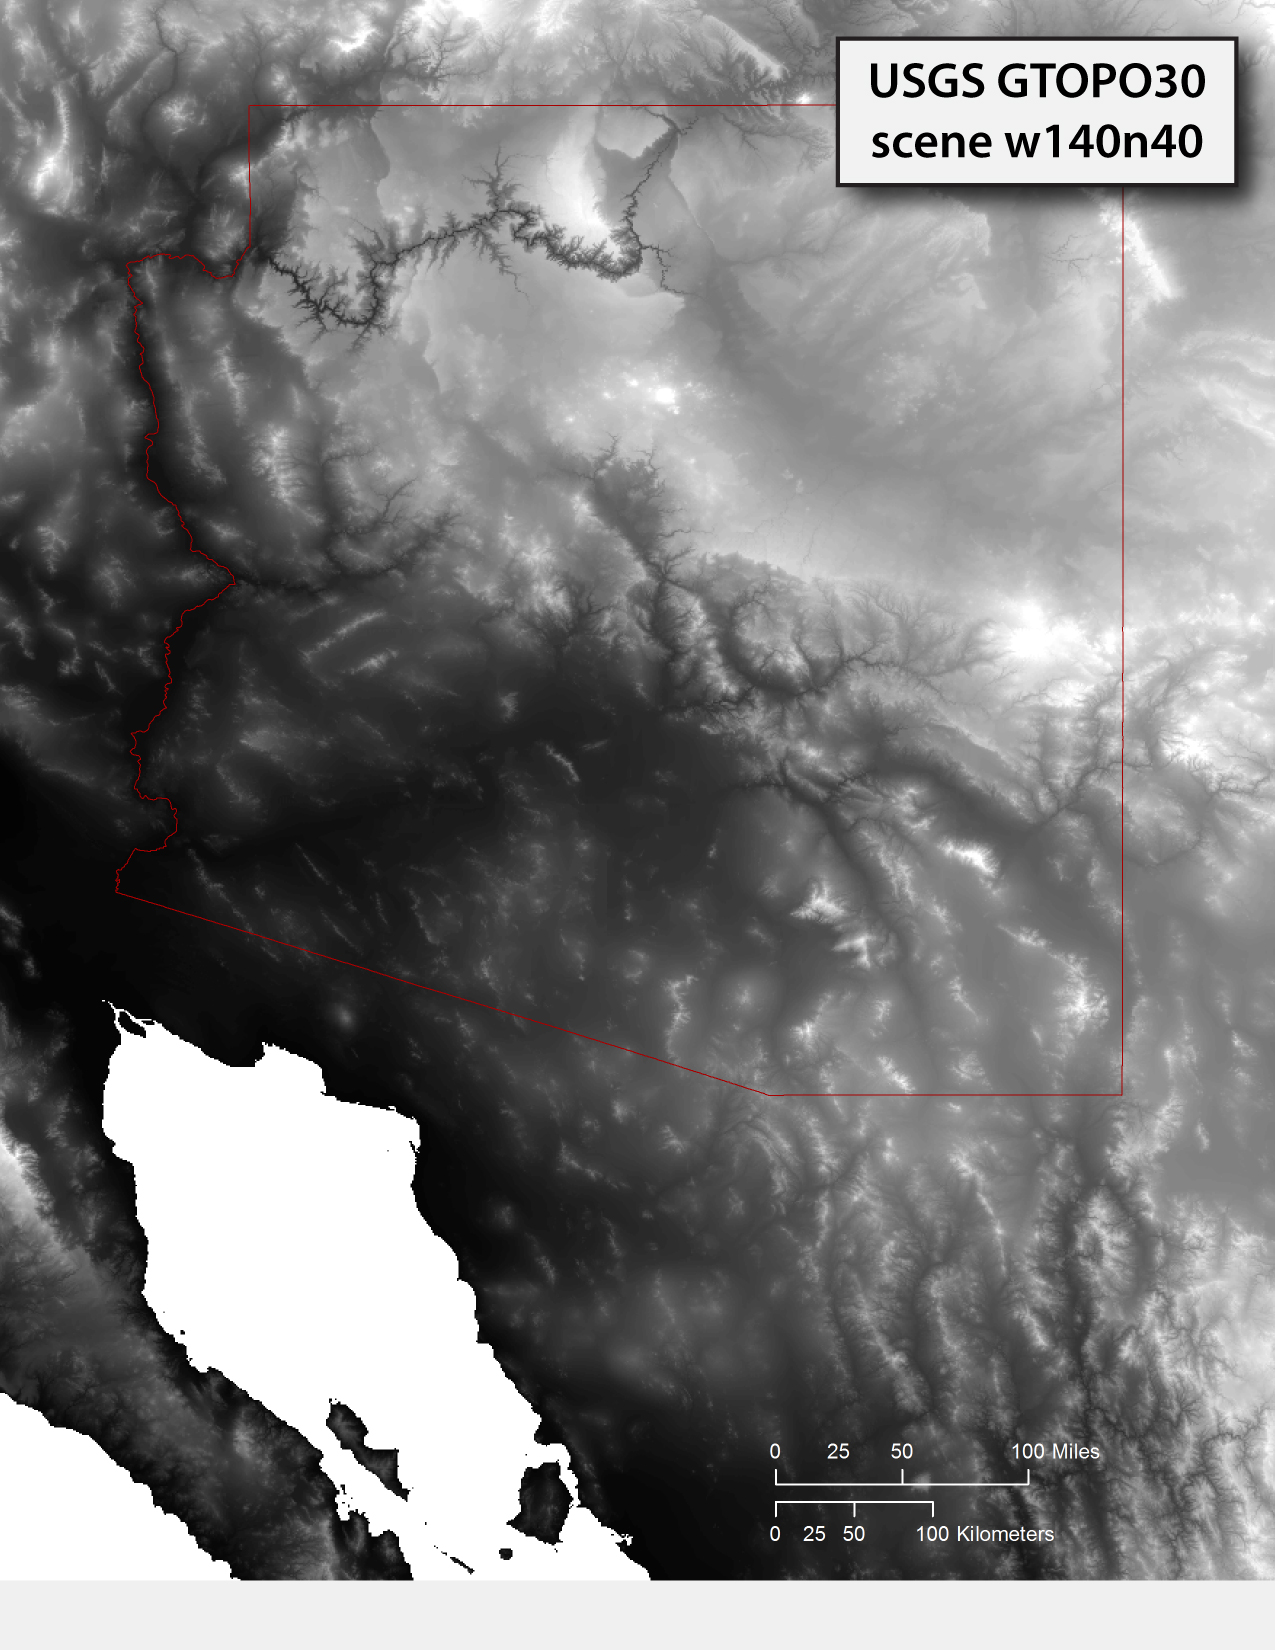
You can search for elevation data using Earth Explorer online data portal. Under the data section, go to Digital Elevation. I used USGS GTOPO30 (1km resolution) for this tutorial, but you should be able to find the best data source, depending on your subject of interest. All data are free to download, but you'll need to register an account first.
STEP 2
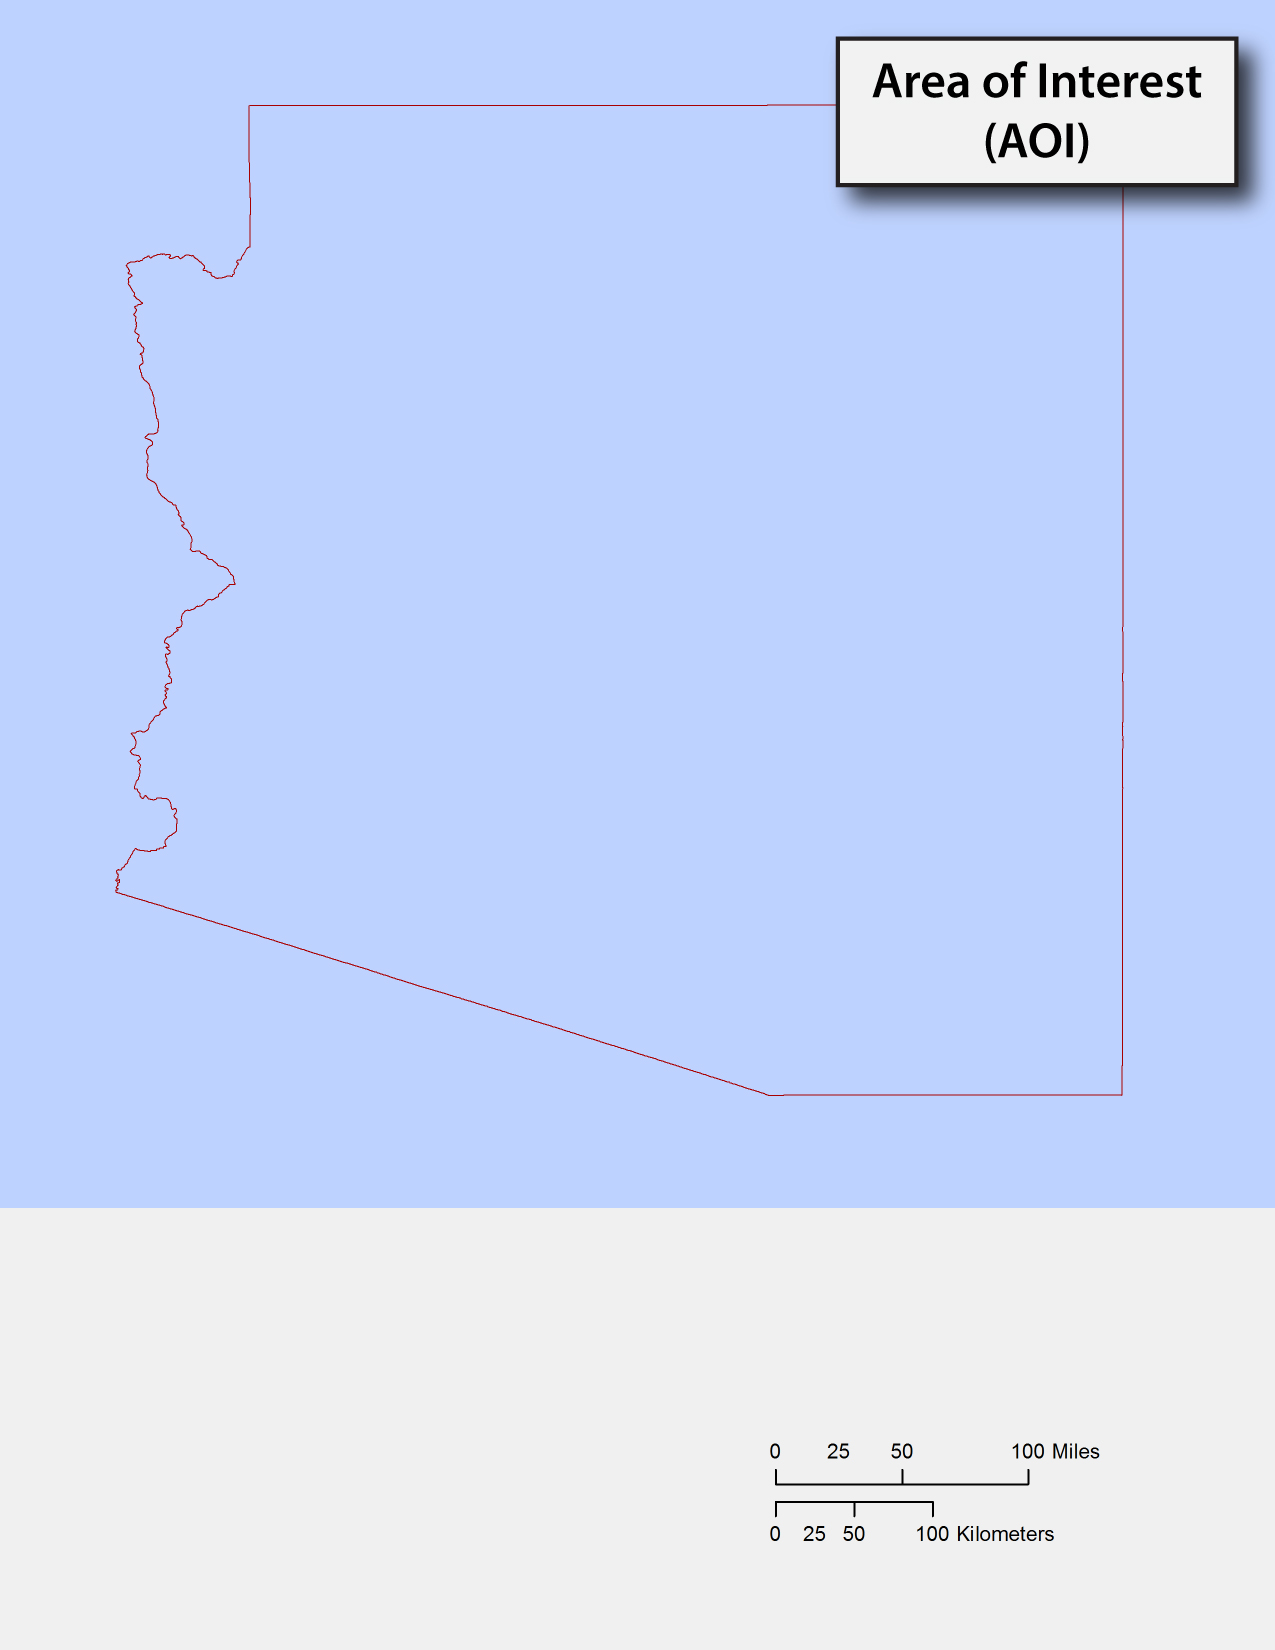
Before start making the hillshade, I strongly suggest anyone to make a clip or to define an AOI. By doing so, it will greatly reduce usage of your machine's RAM, resulting a faster rendering speed. Also, you can choose a blue fill for the ocean.
STEP 3
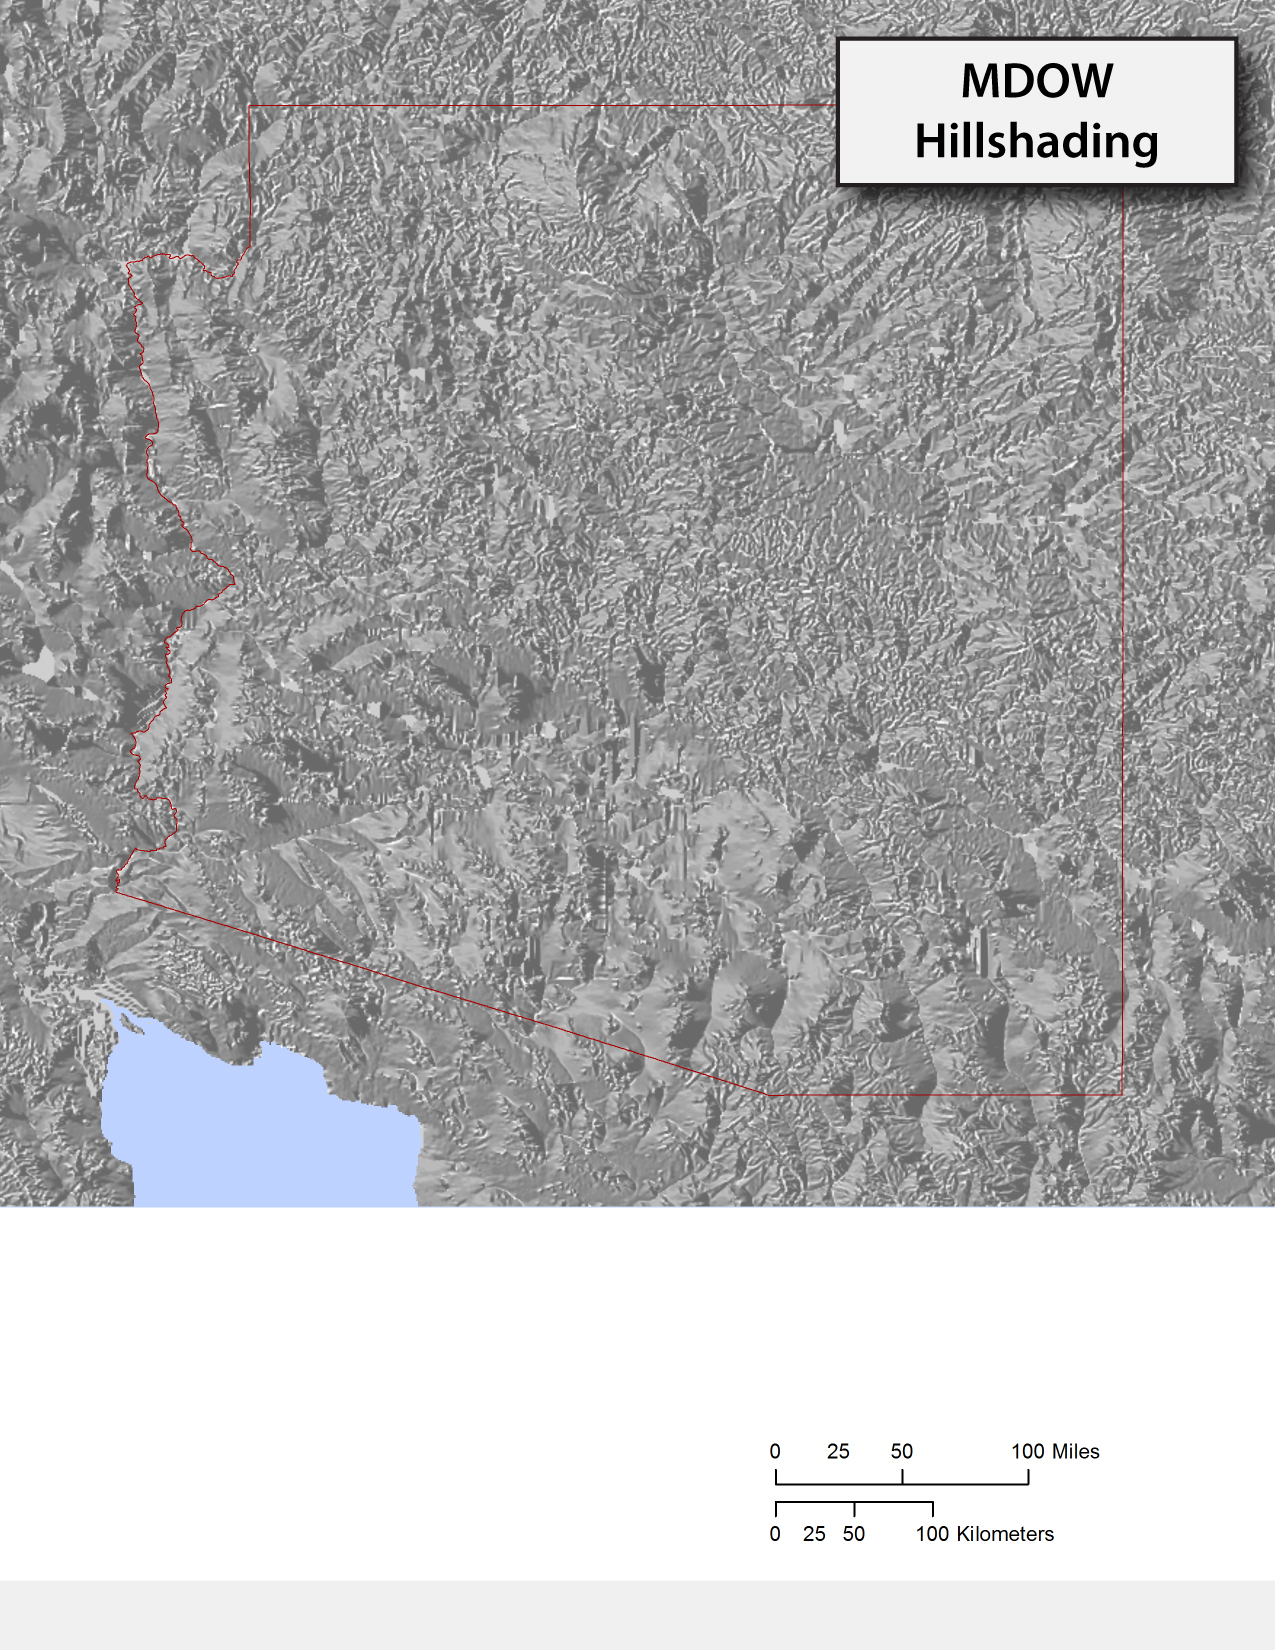
On the base layer, I used USGS's Multi-Directional Oblique Weighted (MDOW) hillshading which "produces a surface that emphasizes oblique illumination on all surfaces, … providing more detail in areas of an image that would otherwise be illuminated by direct light or left in darkness by a single source illumination…"

STEP 4
Above the base layer, I added a green-scheme and color-stretched MDOW layer with a 75% transparency.

STEP 5
Then, I added a 75%-transparent Slope layer using a classified grey color scheme. As a result, riparian areas were emphasized. The map started to look natural.
STEP 6
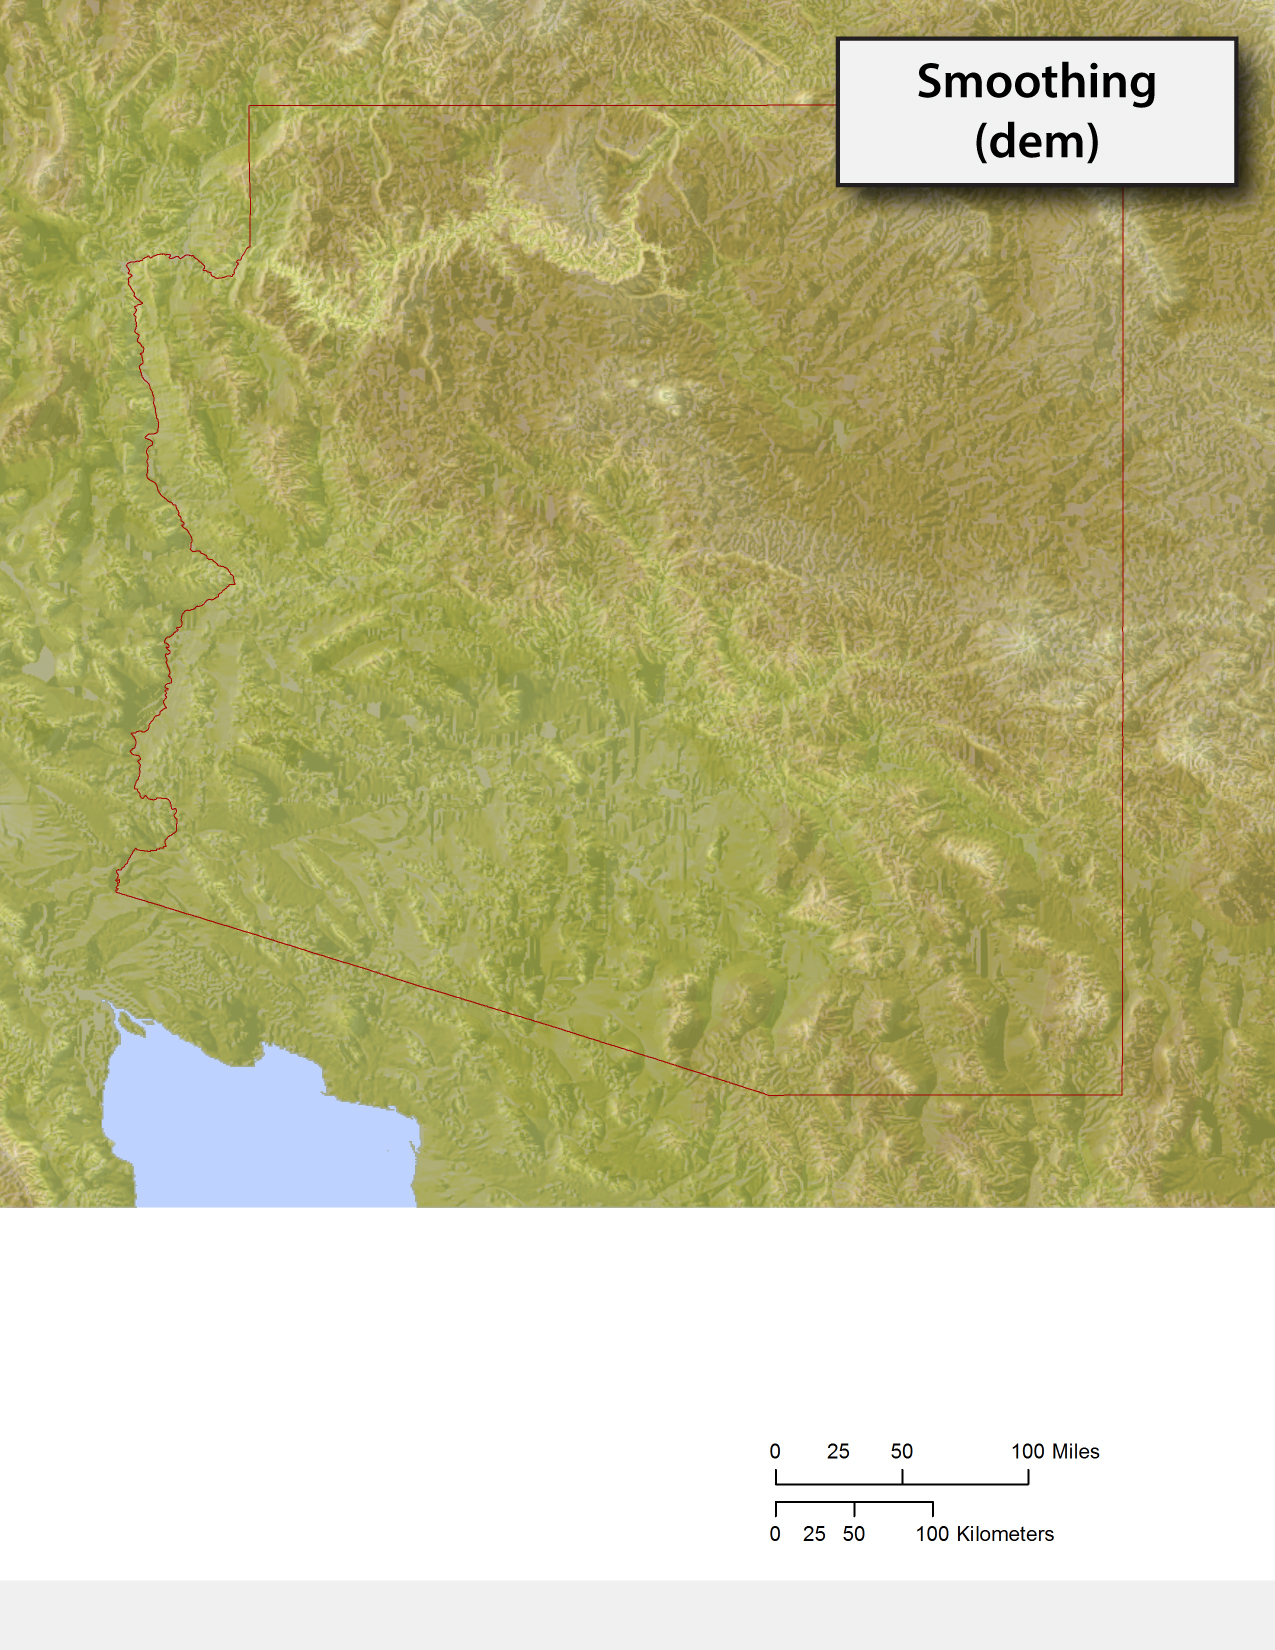
Next, we want the map's color scheme to match the AOI's natural scene. On top of the slope layer, I added a color-classified DEM layer with a 75% transparency. At this point, it already looked natural. The last step is optional.
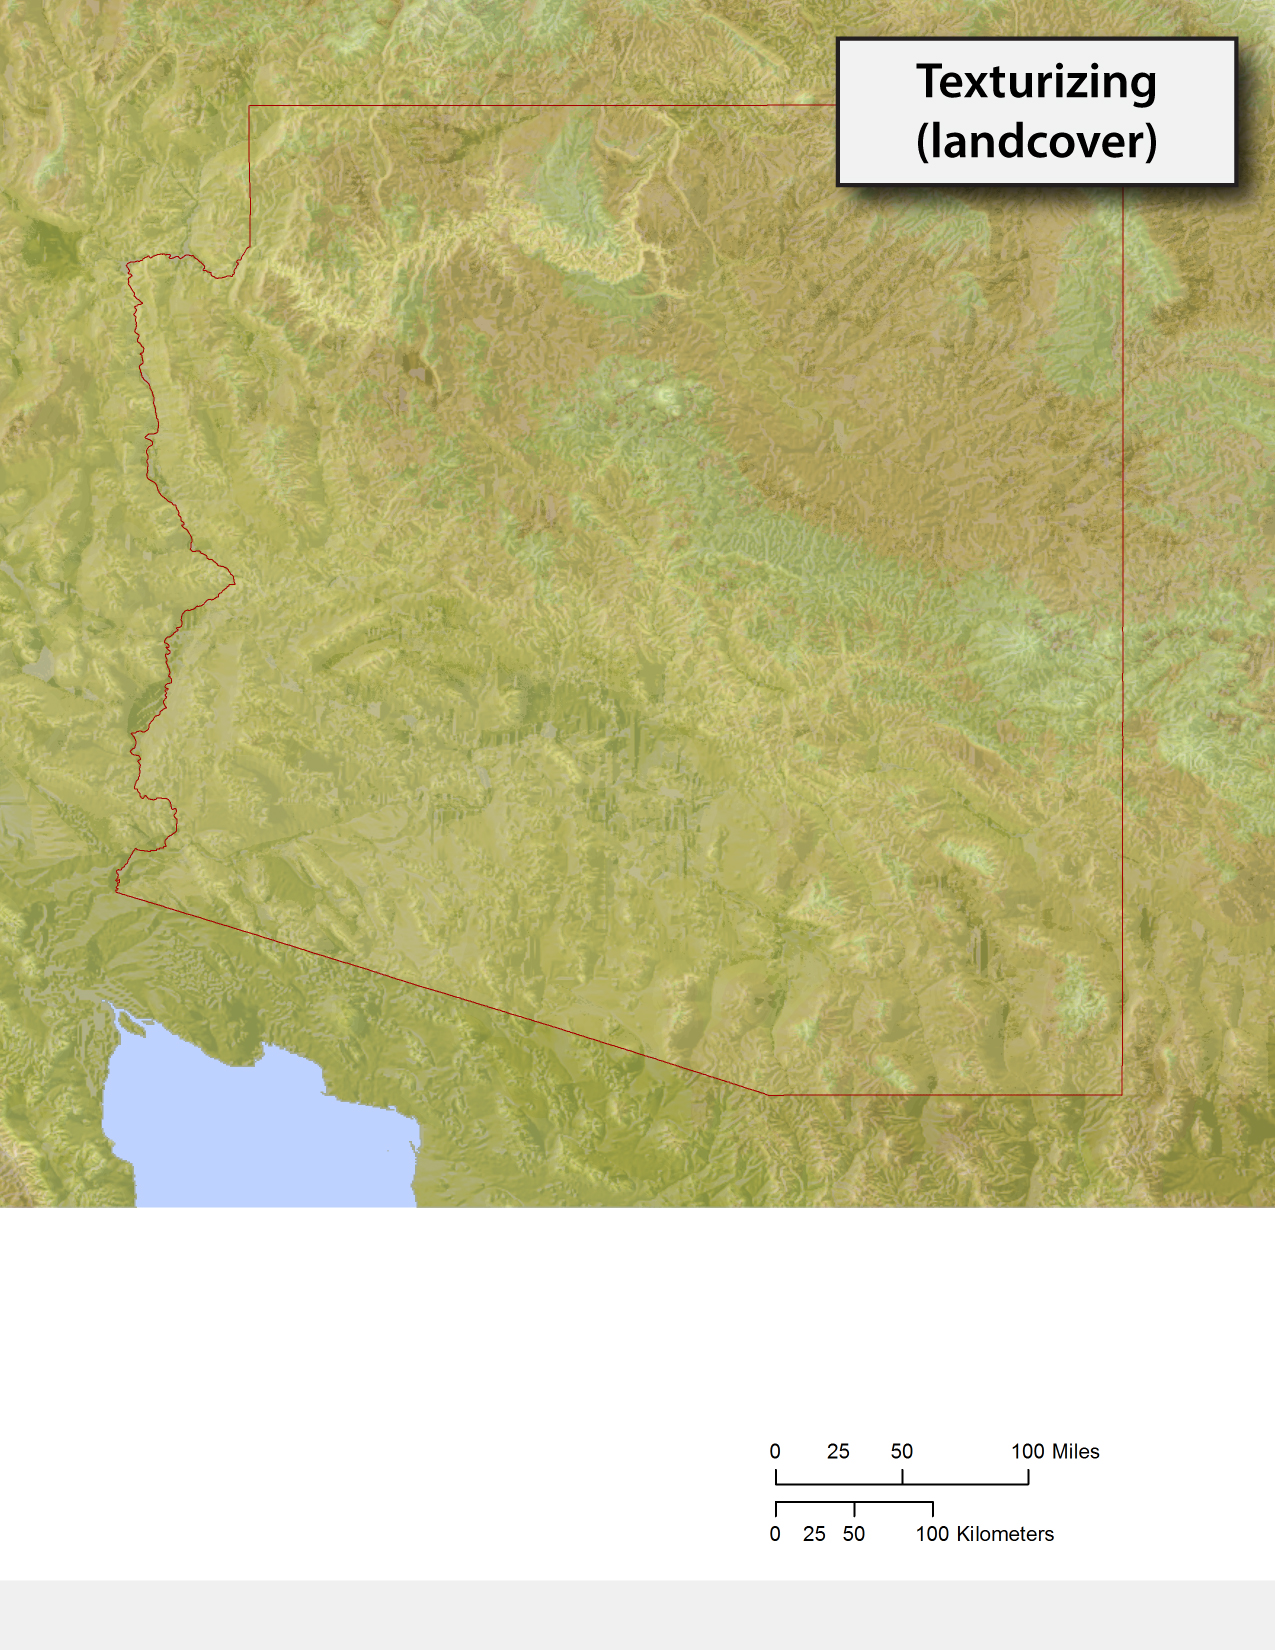
STEP 7
In the last step, I added a texture layer using USGS's landcover data (found via Earth Explorer). The tricky part is that you need to read through the metadata and figure out which code number represents which vegetation type. In my case, I only color-coded the types of vegetation which are the most common in Arizona.